


Push Button Switch Caps & Covers Supplier: Build a Better Button Interface | Hanxia
An electrical inspection can pass a push button and the user still could be disappointed. After the assembly, the cap might wobble, the protective boot might make the action heavy and/or an attractive button might get caught in the opening of the cap. Typically these issues start above the switch itself.
Therefore, it is an interface decision for OEM designers and buyers to select the push button switch caps and covers supplier. The real question is whether the whole assembly of button is providing the desired feel, look and protection during its normal use. First, from the exposed surface, and then toward the switch and its mounting.
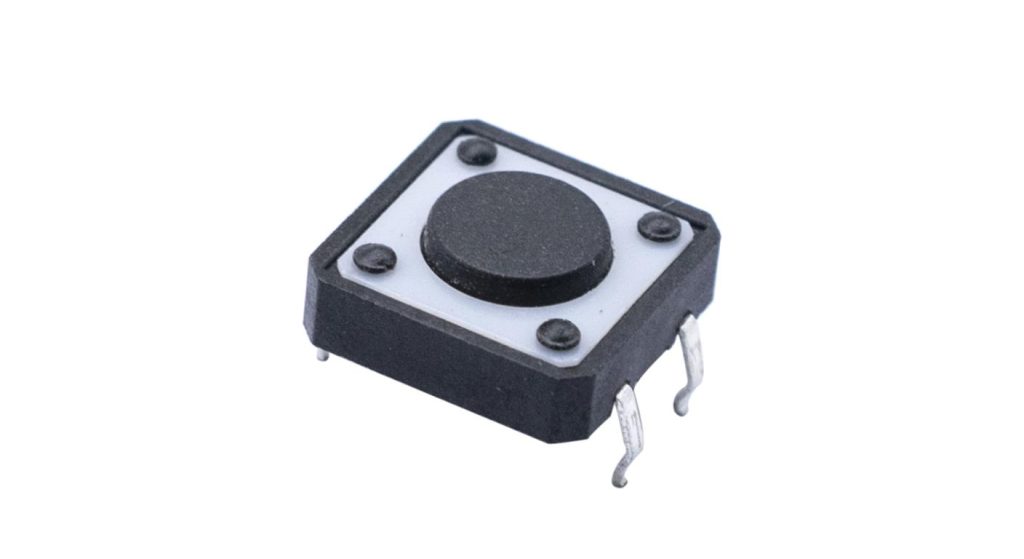
Determine the Cap or Cover Must Do
A cap (or cover) gives surface to press, and can increase or alter the shape of the actuator surface. A flexible cover to protect an opening that will transfer the movement. Alternatively, a guard can be used to restrict access to minimize unintentional operation. These functions are to be indicated separately, even if one component has more than one function.
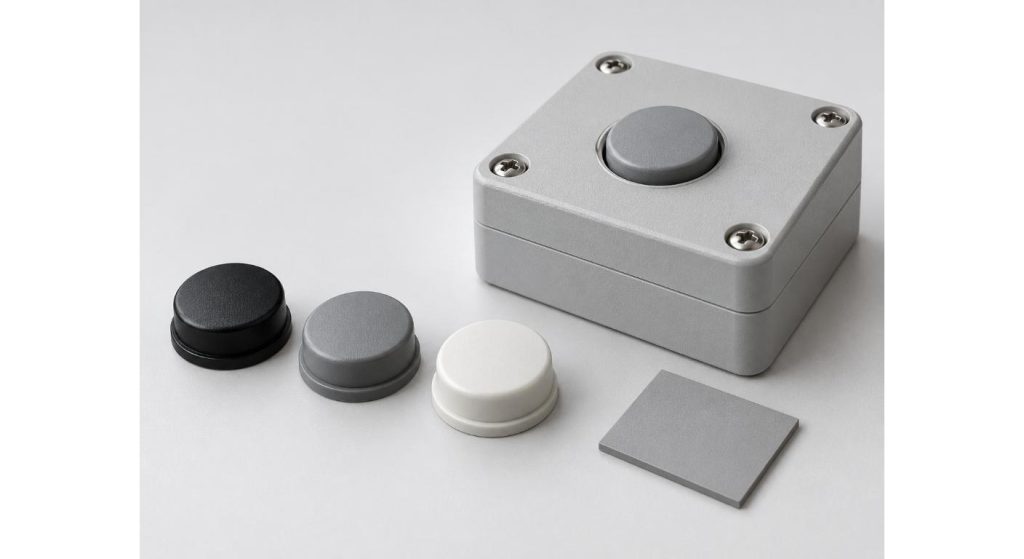
Indicate if the request is for a loose accessory, a switch with a fitted cap or a complete enclosure button assembly. An example of an assembled product that you may want to review is Hanxia's tact switch with plastic cover. Don't assume that this means all caps are available individually or that they are usable with other switches.
Design With the People Press
Visualize the real-life scenario. The surface required for a thumb-operated handheld control is different from that required for a recessed service button. Factors affecting the useful size, spacing and texture include gloves, wet fingers, adjacent controls and viewing angle.
Select the shape that is in view around that interaction, first, and then select a color. A larger diameter cap may make access easier but pressing the edge of the cap also increases the likelihood of tilting. The surrounding guide features must be able to control this movement without binding the button.
Experiment with the idea on a basic prototype of an enclosure. Do not have the user watch their hand all the time, but rather to look for and press the control. This exposes awkward access and confusion which is usually not apparent in a clean product rendering.
Identify and address underlying issues.
Caps of the same outside diameter may have different internal sockets, retention features or seating depths. Ask for a section drawing detailing the connection to the actuator with tolerances, and the direction of assembly.
Determine if the cap is mounted on the switch stem or just secured to the enclosure and simply presses the actuator. These arrangements move loads differently. The switch stem alone cannot be relied on to withstand repeated sideways pressure on an enclosure guided button.
Check the assembled height of the PCB supports to the outside pressing surface. Consider the size of the board, the height of the switch, the cap size, and the enclosure variations. The stack should release reliably at rest and at pressing should have enough travel to not over stress the switch.
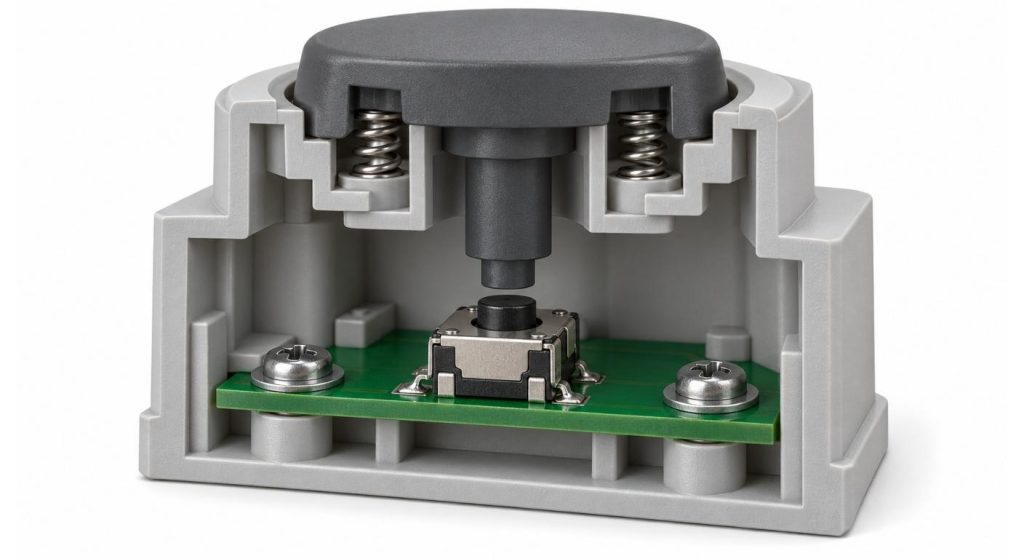
Keep Click Through the Cover
The nominal switch actuation force is not the only force that a user will feel during switch operation. A flexible membrane also has its own resistance to movement, and surfaces rubbing against each other or a poorly-aligned plunger can add friction. A piece with a soft surface does not mean that it is a light action.
Use capped and uncapped samples if possible. Watch the first movement, the tactile movement and the move after the shot. Compare again with the finished house to ensure no alignment changes or flexible cover compression.
Hanxia's rubber capped 6×6 tactile switch features a relevant construction to explore. Test samples to verify the cap and switch combination used; do not presume that all caps and/or switch heights will have the same response. Test slow presses, off center presses and normal operation.
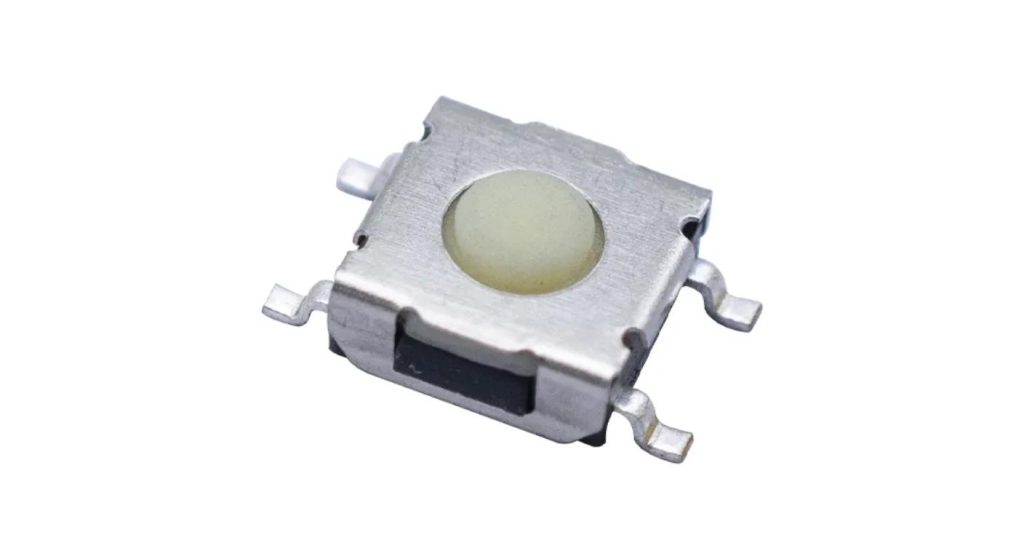
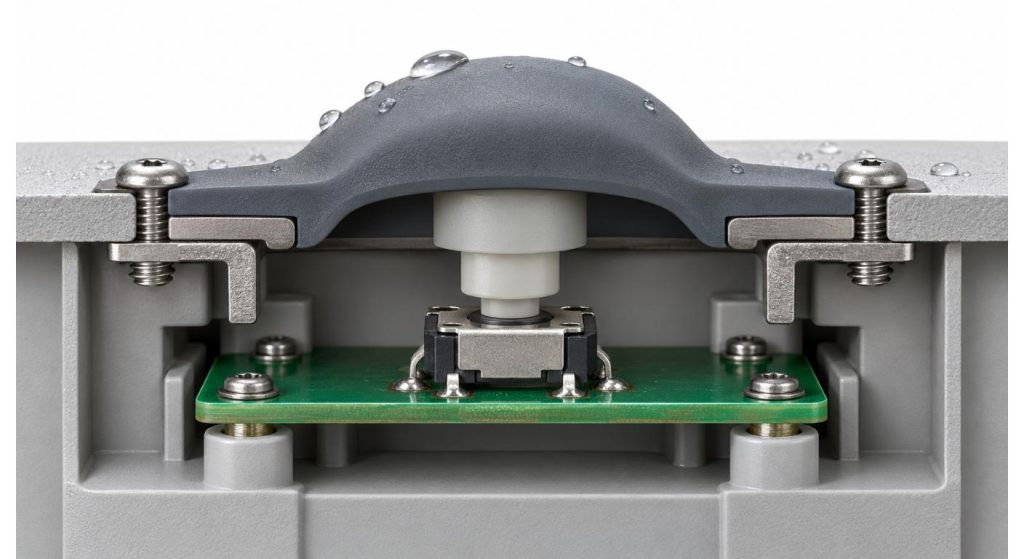
You can install Treat Protection as an Assembly Requirement.
A cover can minimize direct exposure but is not a device that 'seals' the entire device. It is still possible for water or dust to seep into it on the sides or at an adjacent opening or other enclosure joint. Identify the extent of exposure and the perimeter that needs to be kept safe.
If flexible boot is in contact with panel, determine its fixing and compression. Make sure that the edge of the pressing isn't pulled away from the sealing surface. In case of cleaning exposure, determine the type of cleaning agent actually used, concentration, contact time and wiping techniques.
The waterproof tact switch guide outlines Hanxia's background on sealing approaches. For any necessary ingress rating there should still be evidence to support the construction. The finished enclosure can't be automatically protected by a rating associated with the bare switch.
If you do not want to restrict your child's outfit in public, click Approve Appearance Under Everyday Conditions.
How a control appears after handling is due to color, gloss and texture. Examine real-life samples next to the actual enclosure material, in the same light conditions. Cap colours may appear different when compared to a textured panel and may not match a digital colour reference.
If identification is required, indicate if the symbol is molded, printed, engraved or by coating process. Readability at normal operating distance and following representative rubbing (or cleaning). Discuss what fading/surface damage is and is not acceptable.
If the design is illuminated, check the entire optical system both in the light and in the dark. Check for areas of lightness around the button and areas of uneven lightness around the button. A translucent cap should not be approved from a loose sample held up to a lamp—the position of the LED and the internal geometry of the cap is the determining factor.
| Inspection Item | Condition to Agree | Reference to Retain |
| Color consistency | Lighting and surrounding panel color | Approved color sample |
| Surface appearance | Viewing distance and inspection angle | Texture reference |
| Symbol legibility | Viewing position and illumination state | Approved artwork |
| Cosmetic defects | Visible areas and defect acceptance limits | Defect reference photos |
| Batch comparison | Sample quantity and comparison method | Approved reference assembly |
Develop practical methods for Assembly and Replacement.
Verify at which point in the assembly sequence will the accessory enter. Putting the cap after soldering will prevent the need for an unnecessary exposure to heat, but the force needed for installation of the cap requires an appropriate load path. The fixture should not impose stress on the solder joints or bend the PCB.
Discuss if the button needs to be detachable in order to be serviced. A permanent attachment can make it easier to retain it, but more challenging to repair it later. Test the proposed installation and extraction technique, and check for damage to the stem, socket and retaining features.
Confirm prior to release that caps are delivered in a way that prevents abrasion and that there are no visually similar variants that are not distinguishable. When multiple colors and/or heights are sent to the same assembly line, packaging and part identification are important.
Keep representative samples of the configuration approved (enclosure and switch used during evaluation). Loose cap is not enough for the preservation of the reference feel. If the complaint is subsequently repeated, be sure to compare full assemblies under the same mounting and operating conditions.
Provide the Supplier a Complete Interface Brief.
Submit the switch reference, enclosure section, mating geometry, material planned for enclosure and surface requirements all together. Include any use conditions, appearance requirements, quantity of use, and if the items are accessories or assemblies that are to be fitted.
In Hanxia's contact, request the team to verify the dimensions and supply scope of the product and check if there is any dimension that needs to be clarified. A helpful response would be where the suggested part relates to the interface drawing and the evaluation criteria. Approval should maintain that relationship and so when orders are placed in the future, the button experience that was accepted is reproduced.
FAQs
Q1. Is each push button cap universal?
No. Make sure it's the same internal interface, depth and retention method. Compatibility is not determined by the external dimensions being the same.
Q2. Will a silicone cover ensure a waterproof button?
Not by itself. The protection is based on the protection cover, the sealing surface of the cover and the enclosure. Check the necessary assembly limit.
Q3. Does a larger sized cap help with operation?
Can help to make a control easier to reach. Evaluate edge pressing and guidance as extra leverage could result in greater tilting.
Q4. Does the cap need to be fitted prior to soldering?
Use assembly directions approved by the teacher. Do not assume that either sequence is appropriate; confirm compatibility of temperatures and installation loads.
Q5. What should a supplier quotation identify?
It should differentiate between the fitted assemblies and loose accessories. Specify approved drawing revision, material, finish, quantity and packaging requirements.
