Why DIP Switches Cause Configuration Problems (And How to Avoid Them)
DIP switches are legendary for their reliability, yet they are a frequent source of configuration headaches. Why? The problem is rarely the switch itself—it’s how the switch interacts with software and human perception.
The three most common causes of DIP switch configuration failures are the "Read-Once" logic trap (changing settings without rebooting), orientation ambiguity (misreading "ON" vs. "OFF"), and binary calculation errors. Unlike a software menu, a DIP switch provides no immediate feedback, meaning a single wrong toggle can leave a device totally unresponsive with no error message.
1. The "Read-Once" Trap (Software Logic)
The single most common reason a configuration fails is not a broken switch, but a stubborn microcontroller.
How It Happens
Most embedded systems (like garage door openers, HVAC boards, or industrial sensors) only check the state of their DIP switches once, during the exact moment of power-up.
- The Scenario: You change a switch to adjust a baud rate or ID address while the device is on. Nothing happens. You toggle it back and forth. Still nothing. You assume the switch is broken.
- The Reality: The device isn't listening. It loaded the old configuration into its RAM milliseconds after booting and won't check the hardware again until it restarts.
- The Fix: Always power cycle (turn off, wait 5 seconds, turn on) after any DIP switch adjustment.
2. The "Mirror Effect" (Orientation Ambiguity)
Physical DIP switches are symmetrical, but their function is not. A major source of error comes from installing or reading the switch "upside down" relative to the manual.
- Pin 1 Confusion: Manufacturers usually mark "ON" or have a dot for Pin 1, but if the board is mounted vertically or upside down in a cabinet, "Up" might not mean "ON."
- Manual Mismatch: Documentation often shows a generic diagram. If your PCB has the switch rotated 180 degrees compared to the diagram, you might be setting the address backwards (e.g., setting switch 8 instead of switch 1).
- Solution: Always look for the text printed on the switch plastic itself (usually "ON" or numeric labels) rather than relying on board position.
3. Binary & Math Errors (MSB vs. LSB)
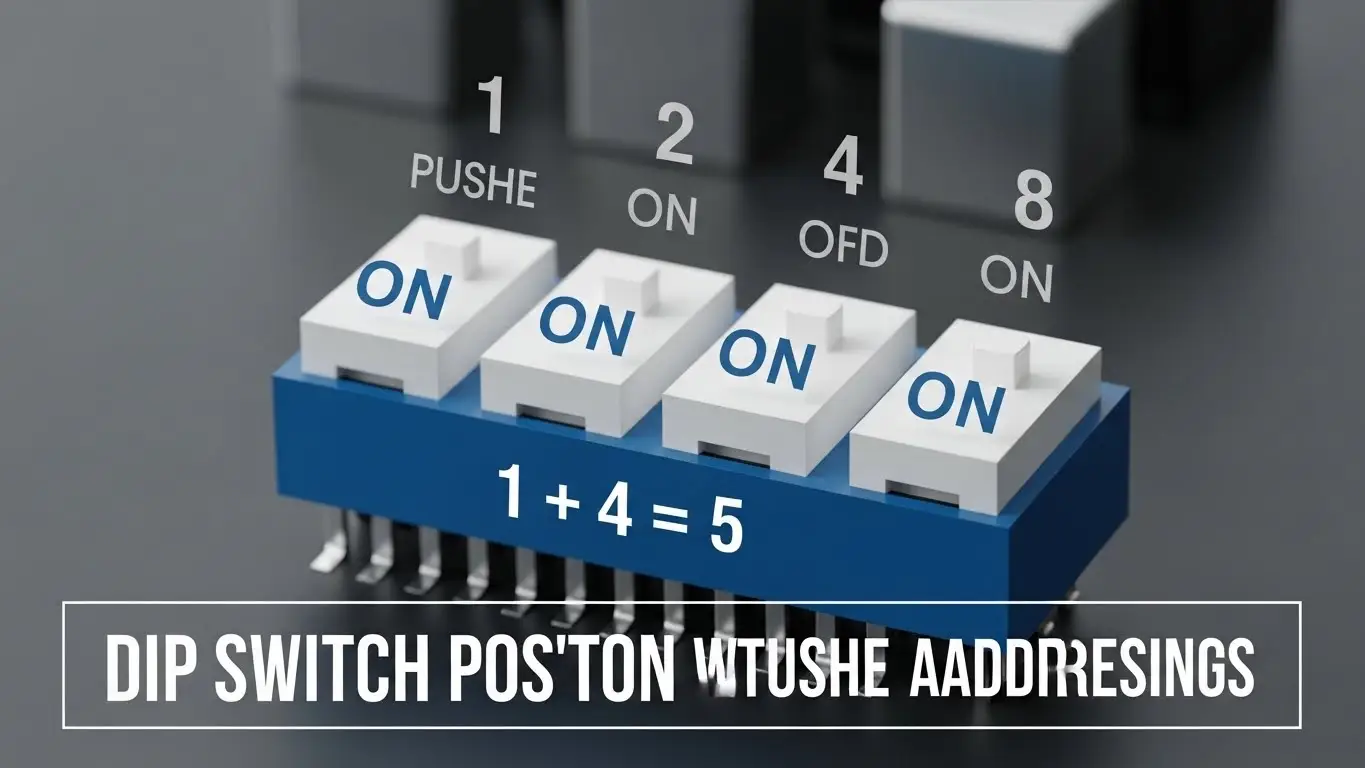
When DIP switches are used to set addresses (like DMX lighting or network nodes), they represent binary numbers. This requires the user to do math, which introduces error.
- LSB vs. MSB: Does Switch 1 represent the value "1" (Least Significant Bit) or the value "128" (Most Significant Bit)? If the manual doesn't specify, users often guess wrong.
- The Calculation: A user wanting address "5" must turn on Switch 1 (value 1) and Switch 3 (value 4). If they mistakenly turn on Switch 5, they've set address "16."
4. Mechanical & Electrical Failures
Sometimes, the hardware is to blame. DIP switches are "set-and-forget" devices, meaning they sit in one position for years.
- Oxidation: Over time, an oxide layer forms on the internal gold contacts. If you try to reconfigure it years later, the new position might not make electrical contact. This leads to intermittent signal issues.
- Floating Pins: If a resistor is missing or broken, the switch might read random values. This mimics a broken tact switch, where the input is unpredictable.
For deep dives on fixing these physical issues, see our guides on DIP switch not reading fixes and advanced troubleshooting.
5. Ambiguous Labeling
Cheaper DIP switches or PCBs may lack clear markings.
- "Open" vs. "Closed": Some manuals say "Close Switch 1." In electrical terms, "Closed" means "ON" (circuit connected), but linguistically, many users think "Closed" means "Off" (like closing a door implies shutting it away).
- 0 and 1: Some switches are marked 0 and 1. While standard, this can be confusing if the user expects "ON/OFF."
Frequently Asked Questions
Yes, use a non-conductive plastic tool or a toothpick. Using a graphite pencil can leave conductive dust that shorts the switch, causing permanent failure.
That tape protects the internal mechanism from dust and flux during soldering. You should remove it only if you need to wash the board. Leaving it on is fine, but peeling it off exposes the switch to debris.
Yes. High-purity isopropyl alcohol works well. See our guide on how to fix tact switches not clicking for similar cleaning principles applicable to electromechanical components.
"Piano" switches are pressed down (like piano keys), while "Slide" switches move laterally. Functionally they are identical, but "Piano" types are easier to actuate without tools.
Key Takeaways
- Reboot is Mandatory: The #1 configuration fix is simply restarting the device so it reads the new switch state.
- Verify Orientation: Never assume "Up is On." Look for the markings on the switch casing.
- Check the Math: If setting an address, verify if Switch 1 is the LSB (1) or MSB (128).
- Beware of "Closed": Remember that in electronics, "Closed" = ON (Current flows).
Conclusion
DIP switches are not inherently unreliable; they are just unforgiving of ambiguity. By understanding the "Read-Once" behavior of your device's software and double-checking the binary math, you can eliminate 90% of configuration problems. When in doubt, grab a multimeter and verify the signal directly to ensure the switch is doing what you think it is.