A Beginner-Friendly Guide to DIP Switches
Setting Dipswitches for Dummies” gives absolute beginners a fast, stress-free way to understand and configure DIP switches correctly. Instead of dense datasheets and confusing jargon, it uses plain language, visual thinking, and real-world examples to explain what each switch does and how binary addresses actually work. Readers learn a repeatable step-by-step method they can reuse on any board, reducing trial-and-error, misconfigurations, and downtime. Whether you’re wiring lighting systems, debugging controllers, or just starting with electronics, this guide builds confidence and saves time by turning a scary block of tiny switches into a clear, logical setup task
1. What does a DIP switch actually do?
In plain language:
A DIP switch is a tiny hardware “settings panel” made of multiple on/off switches.
It lets you tell the device things like:
- What address / ID it should use (e.g., RS-485, DMX lighting, etc.)
- Which mode to run in (test mode vs normal mode)
- What features are enabled (sensitivity, remote control, frequency options)
Before everything had fancy touchscreens and apps, hardware used DIP switches to store your settings. Many industrial and embedded devices still do.
2. What do “ON” and the numbers mean?
A typical DIP switch has:
- One side labeled “ON”
- The other side numbered: 1, 2, 3, 4…
Each number is one individual switch, or “bit.”
Key points:
- ON usually means “closed / active”
- You can think of it as logical 1
- The opposite side is OFF, logical 0
- Each number is a separate bit
- 1 is the first bit
- 2 is the second bit
- 3 is the third bit, and so on
Every bit can be ON or OFF, and the combination encodes a setting.
3. The most common use: setting an address with binary
Many bus devices (lighting controllers, 485 modules, etc.) use DIP switches to set a device address.
In that case, the numbered positions usually represent binary weights:
| Switch # | Binary weight | Value |
|---|---|---|
| 1 | 2⁰ | 1 |
| 2 | 2¹ | 2 |
| 3 | 2² | 4 |
| 4 | 2³ | 8 |
| 5 | 2⁴ | 16 |
| 6 | 2⁵ | 32 |
| … | … | … |
The rule is very simple:
Add up the values of all switches that are ON.
That sum is your device address.
Let’s look at a few examples.
Example 1: Address = 1
- Switch 1: ON
- All others: OFF
Sum: 1 → Address = 1
Example 2: Address = 5
- Switch 1: ON (1)
- Switch 3: ON (4)
- Switches 2, 4, 5, …: OFF
Sum: 1 + 4 = 5 → Address = 5
Example 3: Address = 10
- Switch 2: ON (2)
- Switch 4: ON (8)
- Others: OFF
Sum: 2 + 8 = 10 → Address = 10
You can think of this as:
You’re writing a decimal number using binary via ON/OFF positions.
4. Real-world steps: how to actually set one
Let’s say you’ve got a new board with an 8-position DIP switch, and you want to set the address to 17.
Here’s a simple step-by-step:
Step 1: Find the manual (or board labeling)
Look for anything mentioning:
- “Address,” “ID,” or “Node ID”
- “DIP,” “SW,” or “Address Setting”
- Or a table that lists DIP combinations
You might see something like:
“DIP1–DIP8 = Address setting, ON = 1”
or a table of “Address vs DIP.”
Step 2: Break 17 into powers of 2
You want: 17
Think:
- 16 + 1 = 17
- 16 is 2⁴ → switch 5 (since we started from 2⁰ at switch 1)
- 1 is 2⁰ → switch 1
Step 3: Flip the correct switches to ON
- Switch 1: ON (1)
- Switch 5: ON (16)
- Others: OFF
Check: 1 + 16 = 17 ✅
You’ve just set the address to 17.
5. “I don’t understand binary” hacks
If powers of 2 feel confusing, no worries. Here are two easy methods:
- Use your phone calculator (programmer mode)
- Open your calculator app
- Switch to “programmer” or “binary” mode
- Enter the decimal number (e.g., 17)
- It will show you binary, like
00010001 - From right to left, each “1” corresponds to a switch you turn ON
- Use an online “decimal to binary” converter
- Type your address (e.g., 37) into the converter
- It shows which bits are 1
- Turn ON the switches for those bit positions
Even experienced engineers use tools like this. You absolutely do not have to do it all in your head.
6. DIP switches aren’t just for addresses
Not all DIP switches use the “add up the bits” trick.
Some devices use each switch for a separate feature or mode.
For example:
- SW1: ON = test mode, OFF = normal mode
- SW2: ON = high sensitivity, OFF = low sensitivity
- SW3: ON = remote control enabled, OFF = local only
In that case, you won’t be adding numbers. You’ll see a table in the manual like:
| Switch | OFF | ON |
|---|---|---|
| 1 | Normal mode | Test mode |
| 2 | Low sensitivity | High sensitivity |
| 3 | Local only | Remote enabled |
When you see a table like this, treat each switch as a yes/no option, not a part of a big number.
7. Safety and good habits when flipping DIP switches
A few simple habits will save you a lot of trouble:
- Power off before changing settings
Some devices can technically handle switch changes while powered, but as a beginner, get used to:
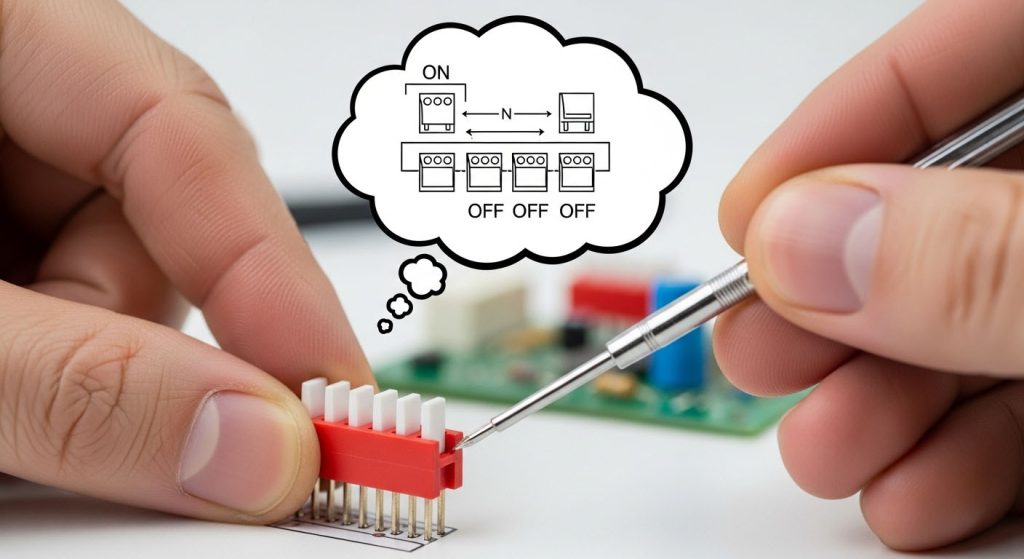
👉 Power off → change switches → power on. - Use a small tool, not your fingernails
- A small flat-head screwdriver, a tweezers tip, or even a pen tip works
- Don’t press too hard; DIP switches are plastic and can break
- Always note down what you changed
- Take a photo
- Or write: “Device A: Address 17 → SW1 ON, SW5 ON”
Later, when debugging, you’ll be VERY glad you did.
- Double-check which side is ON
Not every brand has the same layout. Sometimes ON is towards the top, sometimes towards one side.
Look carefully for the tiny “ON” text and an arrow or marker.
8. What if the DIP settings don’t seem to work?
If you’ve set everything but nothing behaves like it should, try this checklist:
- Is the manual actually for this exact board?
Using the wrong datasheet is more common than you think. - Did you power-cycle the device after changing switches?
Some devices only read DIP settings at startup. - Are you sure you didn’t read the switch direction backwards?
Flip your mental “ON/OFF” picture and check again. - Could software be overriding the DIP?
Some systems treat DIP as “default values,” but allow configuration via software that overrides them later.
When you’re stuck, take a clear photo of:
- the board,
- the DIP switch,
- any labels/silk screen nearby,
and share it with support, a colleague, or a forum. Visuals help a lot more than “I flipped some switches and it didn’t work.”
9. Final recap: DIP switches aren’t scary
Here are the key ideas to remember:
- Each numbered lever is a small on/off switch.
- For addresses: ON bits’ values are added (1, 2, 4, 8, 16…) to get the address.
- For modes/features: each switch usually has its own meaning—read the table.
- Good habits: power off, use a small tool, record your settings, and confirm the ON direction.
Follow these steps and you’ll go from
“I’m scared to touch that thing”
to
“Hold on, I’ll set the DIP switches for you.” 😄