DIP Switches for Router Configuration: The Hardware "Backdoor" for Network Engineers
DIP switches for router configuration are the physical fail-safes of the networking world—a row of tiny manual toggles that override software settings, define boot modes, and secure industrial networks when a web interface isn't accessible. While your average home Wi-Fi router relies on a sleek web dashboard, industrial routers, legacy Cisco equipment, and IoT gateways depend on these electromechanical switches to set baud rates, enable password recovery, or terminate RS-485 serial connections.
In this guide, we bypass the "Wizard" setup and dive into the hardware level. We’ll cover why these switches still exist in 2025, how to configure them for critical tasks like password recovery, and why a $0.50 switch can be the difference between a secure network and a bricked device.
What Are DIP Switches and Why Do Routers Still Use Them?
DIP (Dual In-line Package) switches are manual electric switches used on router circuit boards to set hardware-level parameters—such as device addresses, operational modes, or termination resistance—that persist regardless of software corruption.
In an age of Software-Defined Networking (SDN), a physical switch might seem archaic. But imagine a scenario where a firmware update fails, bricking the router's operating system. If configuration were 100% software-based, that device would be a paperweight. A physical DIP switch for router configuration provides an "air-gapped" method to force the device into a recovery mode (often called "Bootloader Mode") or reset factory defaults without needing a login credentials.
The "Headless" Advantage
I once spent four hours trying to Telnet into a remote industrial gateway that had lost its static IP. It turned out the previous technician had hard-coded a subnet I couldn't guess. The solution? A 4-position DIP switch on the side. Flipping Switch 1 to "ON" forced the device into DHCP mode, allowing it to grab a new IP instantly. That little switch saved a $2,000 piece of hardware.
How Do You Use DIP Switches for Password Recovery?
On many enterprise and industrial routers, specific DIP switch combinations (often Switch 1 or 2) bypass the startup configuration file, allowing you to boot without a password and reset the administrative credentials.
For network engineers, the "lost password" scenario is a rite of passage. While modern Cisco ISR routers often use a software "Break" sequence, many legacy units and specialized industrial routers (like those from Moxa or Advantech) use a physical DIP switch to trigger this bypass.
The Standard Recovery Procedure
- Step 1: Power down the router.
- Step 2: Locate the DIP switch block (often labeled
SW1orCONFIG). - Step 3: Flip the designated "Recovery" or "Console" switch (check your manual; it’s often Switch 1 or 6) to the ON position.
- Step 4: Power up the router. It will boot into a "Safe Mode" or ignore the
startup-configfile. - Step 5: Telnet/SSH into the default IP or connect via Console Cable.
- Step 6: Reset the password, save the new config, power down, and flip the switch back to OFF.
Warning: Forgetting to flip the switch back is a common rookie mistake. If you leave it ON, the router will factory reset every time it reboots, wiping your new configuration.
What Are the DIP Switch Settings for RS-485 Serial Interfaces?
For routers with serial interfaces (RS-485/RS-422), DIP switches are mandatory for setting the "Termination Resistor" (120 Ohm) to prevent signal reflection and defining the 2-wire or 4-wire communication mode.
Industrial routers often act as gateways, translating old serial data (from PLCs or sensors) into modern IP packets. The RS-485 bus is notorious for signal noise if not terminated correctly.
1. Termination Resistor (120Ω)
- Scenario: You have a daisy-chain of 10 sensors connected to your router.
- Configuration: The router is likely at one end of this chain. You must flip the "Terminator" DIP switch (often Switch 8 or labeled
TERM) to ON. This engages an internal 120-ohm resistor that absorbs signal echoes. - Rule: Only the first and last devices in an RS-485 chain should have this switch ON. All devices in the middle must have it OFF.
2. 2-Wire vs. 4-Wire Mode
- 2-Wire (Half-Duplex): Data travels both ways but only one direction at a time. (DIP Setting: typically Switches 1 & 2 ON).
- 4-Wire (Full-Duplex): Simultaneous transmit and receive. (DIP Setting: typically Switches 1 & 2 OFF).
For a deep dive into electrical signaling and switch mechanics, refer to our technical switch application notes.
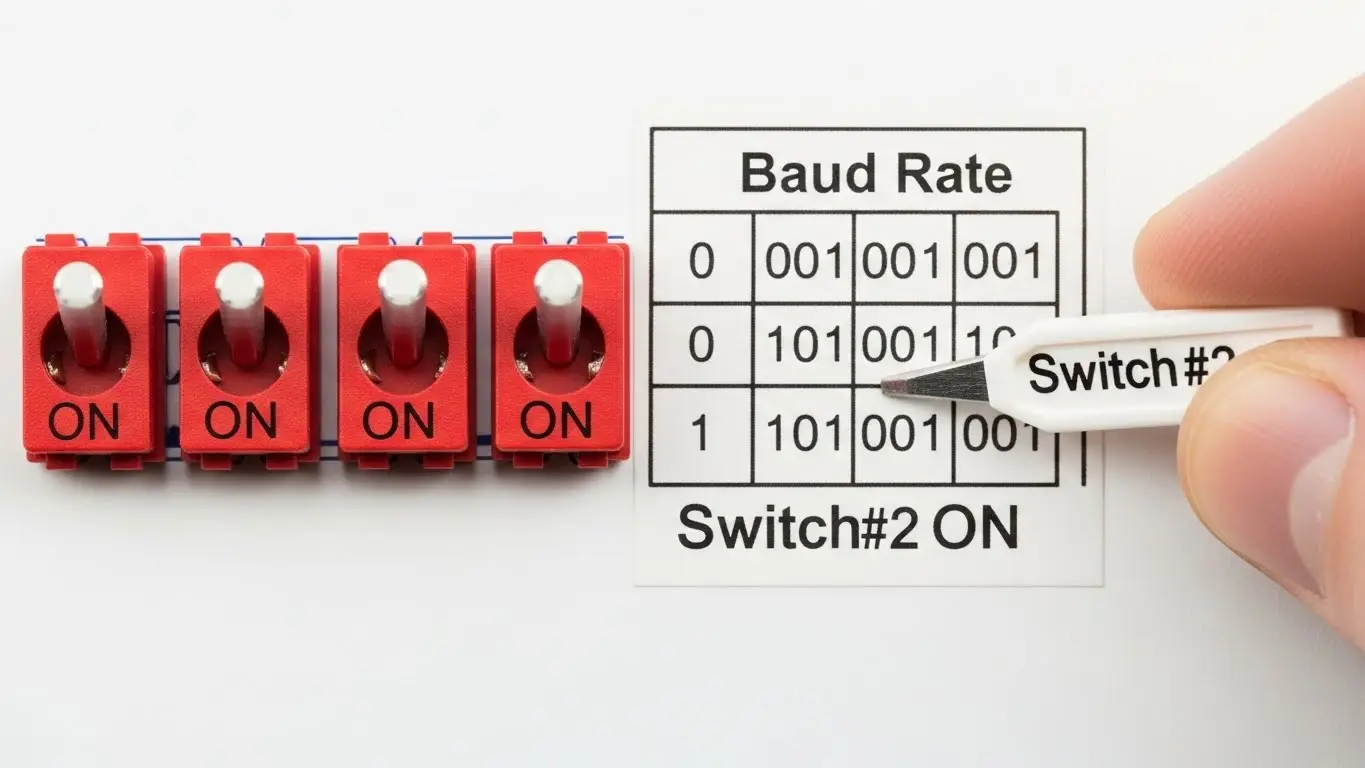
How Does "Baud Rate" Configuration Work via DIP Switches?
DIP switches set the baud rate (data transmission speed) physically, ensuring the router matches the speed of connected legacy equipment (like 9600 bps) before any software handshake occurs.
If you are connecting a modern cellular router to a 1990s HVAC controller, they need to speak at the same speed. If the software auto-negotiation fails, a DIP switch forces the setting.
Common Baud Rate Truth Table
A "Truth Table" on the device label tells you the code. It often looks like this (0 = OFF, 1 = ON):
| Switch 1 | Switch 2 | Switch 3 | Baud Rate |
| 0 | 0 | 0 | 9600 bps |
| 0 | 0 | 1 | 19200 bps |
| 0 | 1 | 0 | 38400 bps |
| 1 | 1 | 1 | 115200 bps |
- Pro Tip: Always power cycle the device after changing these switches. Unlike software changes, DIP switch readers usually only check the state during the boot sequence.
Consumer vs. Industrial Routers: Who Needs DIP Switches?
Consumer routers rely on user-friendly web apps for 99% of tasks, while industrial routers use DIP switches for "headless" reliability in harsh environments where connecting a laptop is difficult or dangerous.
The Consumer "Bridge Mode" Exception
While your standard Netgear Nighthawk won't have them, specialized "Mesh Nodes" or ISP-provided gateways often use a hidden DIP switch to toggle between Router Mode (NAT enabled) and Bridge Mode (NAT disabled, acting as a modem pass-through).
- Why: It prevents a "Double NAT" error when users connect their own fancy router to the ISP's box.
Industrial Reliability
In a factory, a router might be mounted 20 feet up a pole. If it crashes, climbing a ladder to plug in a laptop is a safety risk. A DIP switch allows a technician to use a long tool to flip a "Reset" or "Fallback IP" switch from the ground (or at least without opening the case), restoring access instantly. This robust philosophy mirrors the design of tact switches for automotive dashboards, where physical reliability trumps touch-screen flashiness.
Troubleshooting Common DIP Switch Issues in Routers
Common failures include "half-switched" states where the lever isn't fully seated, oxidation on contacts causing intermittent signals, and confusion between "ON" and "OFF" labeling.
1. The "Graphite" Short Circuit
Never use a pencil to flip a DIP switch. Pencil lead is graphite (conductive). If a microscopic shard breaks off and falls across the contacts, it can short-circuit the switch, permanently locking it in the "ON" state or even frying the logic board. Always use a dedicated plastic adjustment tool or a non-conductive stylus.
2. "Half-Switching"
DIP switches are mechanical. If you don't push the lever firmly until it "clicks" or hits the hard stop, it might float in the middle. The router's processor might read this as "ON" one second and "OFF" the next (contact chatter), causing boot loops or erratic behavior.
3. Inverse Logic Confusion
Don't assume "UP" is "ON." Depending on the manufacturer (and how the switch was soldered), "DOWN" might be "ON." Always look for the word "ON" stamped on the switch housing itself, or an arrow indicating the closed position.
Frequently Asked Questions
Generally, no. Most routers only read the state of the DIP switches during the "Power-On Self-Test" (POST) sequence. Changing them while the device is live will usually do nothing until you reboot. In some sensitive electronics, it could even cause a glitch if the firmware isn't designed for "hot switching."
Most modern routers use a tact switch (a small push button) held for 10-30 seconds for resets. DIP switches are reserved for modes (settings that should stay permanent), while push buttons are for events (one-time actions).
The "pole" count refers to the number of individual switches in the block. A 2-pole block has 2 switches (providing 4 possible combinations: 00, 01, 10, 11). A 4-pole block has 4 switches (16 combinations).
This is a "process seal." During manufacturing, the switch is taped to prevent solder flux and washing fluids from entering the mechanism. You should peel this off after installation—unless it's an industrial environment where you want to keep dust out. See our DIP switches for industrial machines guide for more on sealing.
You likely left the "Recovery" or "Console" switch in the ON position. This forces the router to stop the boot process and wait for firmware upload. Power down, flip the switch to OFF, and reboot.
Key Takeaways
- Hard-Coded Security: DIP switches provide a physical layer of configuration that software malware cannot alter.
- Recovery Lifeline: They are often the only way to recover a password or un-brick a router when the software interface is inaccessible.
- Protocol Translator: Essential for setting RS-485 termination and baud rates on industrial gateways.
- Power Cycle Required: Always reboot the device after changing a DIP switch setting for it to take effect.
Conclusion
While they may seem like relics of the 90s, DIP switches for router configuration are the unsung heroes of network stability. They provide the "ground truth" for device behavior—a physical anchor in a world of virtualized settings. Whether you're managing a smart home bridge or a mission-critical industrial gateway, respecting these tiny switches ensures your network boots up correctly every time.
So, put down the pencil, grab a proper adjustment tool, and verify that "Switch 1" is actually where you think it is. Your network uptime might just depend on it.