DIP Switch Not Reading Correctly? Fixes
If your DIP switch isn't reading correctly, the most common culprit is contact oxidation or debris preventing a clean electrical circuit closure. First, try cycling the individual switch actuator back and forth 5-10 times; the internal wiping action often clears minor buildup. If that fails, apply a specialized electronic contact cleaner (like DeoxIT) and re-test with a digital multimeter to ensure continuity.
In older electronics or newly assembled boards, the issue might be cold solder joints on the PCB rather than the switch itself, requiring a soldering iron to reflow the connection. For microcontroller inputs, verify that your pull-up or pull-down resistors are correctly configured, as floating pins can cause erratic readings even with a functional switch.
Troubleshooting DIP Switch Failures
Before you desolder components, you need to confirm whether the failure is mechanical (the switch) or electrical (the circuit). DIP switches are generally reliable, but they are susceptible to environmental factors.
Step 1: Visual Inspection and Mechanical Check
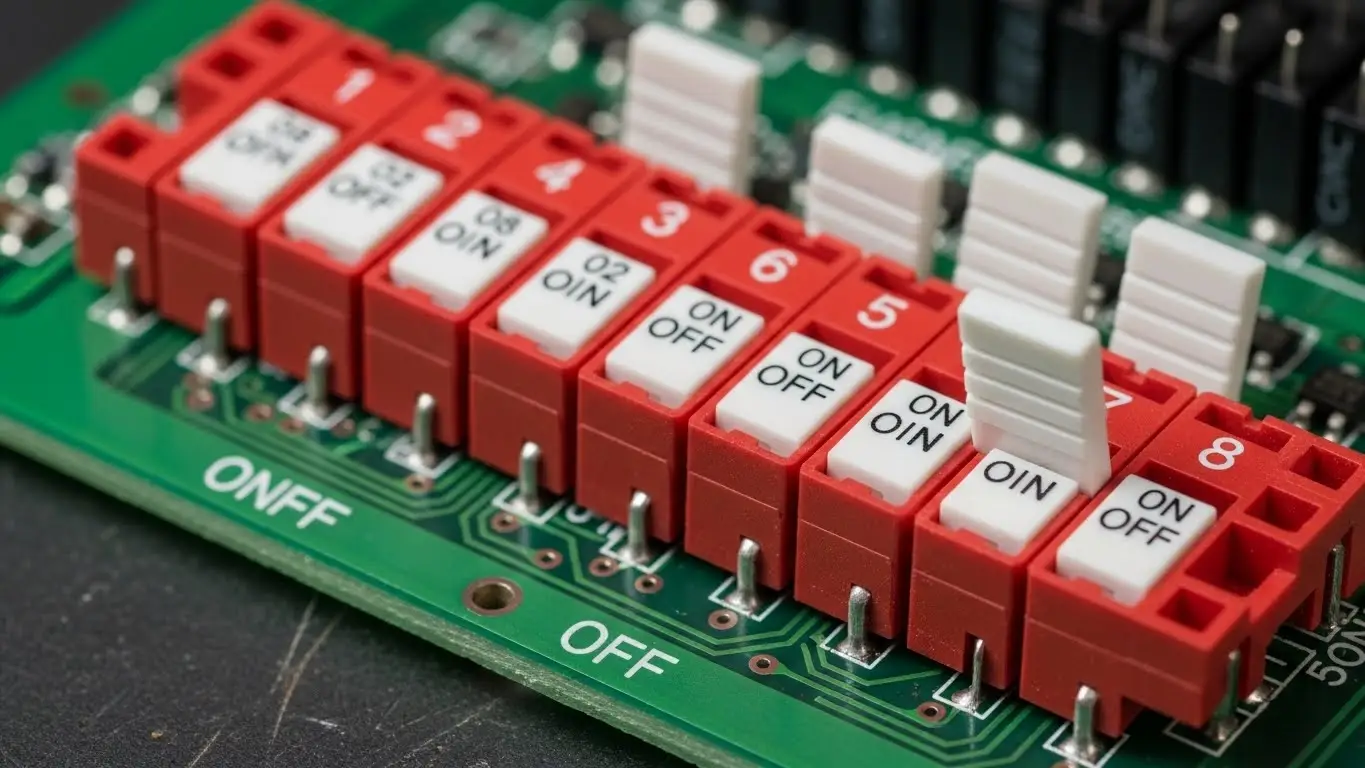
Inspect the switch block for physical damage. Are the actuators (the small sliders or rockers) physically intact? Sometimes the plastic actuator can break internally, moving the slider without actually moving the metal contact wiper inside.
Step 2: Testing with a Multimeter
The most accurate way to diagnose a fault is checking for continuity.
- Power Down: Ensure the device is completely unplugged and discharged.
- Set Multimeter: Turn your dial to Continuity Mode (usually indicated by a sound wave symbol).
- Probe: Place one probe on the input pin and one on the output pin of the specific switch number.
- Actuate: Flip the switch to "ON." You should hear a beep (near 0 ohms). If you hear nothing or see high resistance, the contact is dirty or broken.
For those dealing with complex boards, this process is part of advanced troubleshooting and repair that saves you from replacing expensive components unnecessarily.
How do you clean a DIP switch?
Use contact cleaner rather than abrasives.
Cleaning is often the easiest fix for a switch that reads intermittently. Do not use standard WD-40, as it leaves a residue that attracts dust. Use a dedicated electronic contact cleaner.
- Power off the device.
- Spray a small amount of cleaner into the switch housing gaps.
- Vigorously flip the switch back and forth to work the cleaner into the contacts.
- Allow it to dry completely before powering on.
[SUGGESTED LINK: Maintenance tips for electromechanical switches]
Common Causes for Incorrect Readings
Why do these switches fail? Understanding the root cause helps prevent recurrence.
| Symptom | Probable Cause | Fix Difficulty |
| Intermittent Reading | Oxidation/Dust | Easy (Clean) |
| No Continuity (ON) | Broken Internal Wiper | Hard (Replace) |
| Always ON | Solder Bridge | Medium (Reflow) |
| Floating/Random Value | Missing Pull-up Resistor | Medium (Add Component) |
Oxidation and Contamination
DIP switches are often "set and forget." Because they aren't used frequently, oxide layers build up on the gold or silver contacts. This increases resistance, causing the logic controller to read a "0" instead of a "1."
Solder and PCB Issues
If the switch is new but failing, check the underside of the PCB. A "cold solder joint" (which looks dull or cracked) prevents electricity from flowing. This is a different issue than mechanical failure, similar to why a tact switch isn't working when the soldering is compromised during assembly.
Can a DIP switch wear out?
Yes, but it takes a long time.
Standard DIP switches are rated for roughly 1,000 to 3,000 cycles. While this sounds low compared to a keyboard switch, remember that DIP switches are designed for configuration, not daily input.
If the switch feels loose or lacks that distinct "snap," the internal spring mechanism may be fatigued. This tactile feedback is crucial; if it's missing, you are facing a mechanical failure similar to a tact switch not clicking, and the only reliable fix is replacement.
How to Replace a Faulty DIP Switch
If cleaning and reflowing solder doesn't work, you must replace the component.
- Desolder: Use a desoldering pump or wick to remove the old solder from all pins.
- Remove: Gently pull the switch out. Don't force it, or you will lift the PCB pads.
- Clean: Clean the board area with Isopropyl Alcohol.
- Install: Insert the new switch, ensuring the "ON" position matches the board silkscreen.
- Soldering: Solder the pins, ensuring you don't overheat the plastic housing.
Frequently Asked Questions
Q: Can I use alcohol to clean a DIP switch?
A: Yes, high-percentage Isopropyl Alcohol (90%+) is safe for cleaning contacts. However, specialized contact cleaners often include lubricants that protect the metal from future oxidation.
Q: What if the switch works but the device ignores the setting?
A: This is likely a software or logic issue. Most DIP switches require the device to be power-cycled (turned off and on) for the new settings to be read by the microcontroller.
Q: Are all DIP switches the same footprint?
A: No. While the standard pitch is 2.54mm (0.1 inch), there are "half-pitch" DIP switches (1.27mm) used in compact devices. Always measure pin spacing before ordering a replacement.
Q: Do DIP switches need pull-up resistors?
A: Generally, yes. A DIP switch connects two points (usually Ground and a GPIO pin). Without a resistor pulling the voltage up when the switch is open, the pin "floats," leading to unpredictable readings.
Key Takeaways
- Cycle to Clean: Often, simply flipping the switch back and forth clears oxidation.
- Check Continuity: Use a multimeter to differentiate between a broken switch and a software issue.
- Look for Solder Issues: Cold solder joints are a common cause of failure in new or dropped devices.
- Power Cycle: Always restart your device after changing DIP switch settings.
Conclusion
A DIP switch not reading correctly can halt an installation or configuration process, but it is rarely a catastrophic failure. By following a logical path—cleaning, testing continuity, and checking solder joints—you can resolve 90% of these issues without desoldering. If the switch is physically damaged, replacing it is a low-cost repair that restores full functionality to your device.
Need high-quality replacements for your project? Ensure you verify the pitch and profile before buying to ensure a perfect fit.